


Our Guide to DIY Product Photography
Posted on 8th June 2018 at 18:43
In the eyes of consumers, the perceived value of a product is often determined by its visual presentation. As such, not only can having high-quality images of your products help to ensure their sale but it can also give your business more credibility by showing that you take pride in your photography and want your imagery to look as expert as possible.
However, while professional photography may be a viable option for larger businesses, many start-ups can find it too much of an expense to rent either a photographer or a studio. As such, DIY product photography is a more affordable alternative that, with the right know-how, can be used by business owners to achieve high-quality images that are often just as convincing as those taken professionally.
If you’re looking for a more feasible option when it comes to producing high-quality product imagery, we’ve provided a guide to DIY product photography that is sure to point you in the right direction when it comes to creating some show-stopping snaps:
Camera
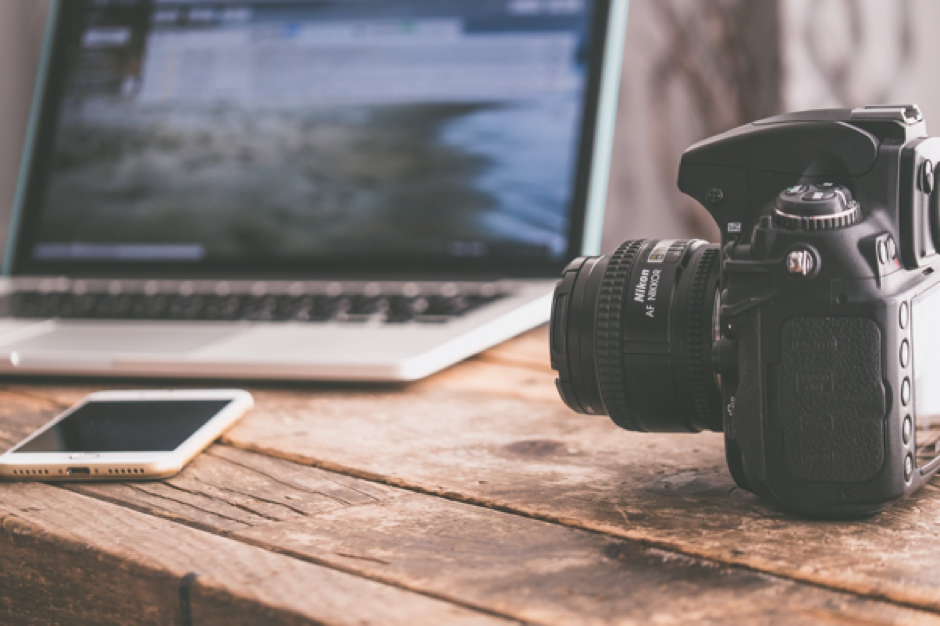
While professional photographers use top of the range photography equipment to capture their images, you don’t necessarily need an expensive camera with multiple lenses to shoot some great photographs. Start by using whatever camera is available to you and see what kinds of images you can produce with that. If you feel you need something a little more equipped or have a bit of extra budget to splash out on something new, a DSLR model such as the Nikon D3300 is incredibly user-friendly, making it great for beginners!
Tripod
Sometimes, capturing a clear image can be tricky, especially if you’re taking photographs by hand. As such, it’s always best to position your camera on a flat and stable surface that will enable you to produce clear and sharp images. While a pile of books or even a chair can often do the trick, a tripod is a more versatile tool to use that will undoubtedly enhance the quality of your images. Not only are tripods easy to use but they can also be used in different environments; so, whether you’re doing some simple snaps indoors or have headed outside to get some action shots, this equipment will always ensure a fantastic photograph is captured.
Lighting
While many believe that the quality of an image is solely determined by the type of camera used to capture it, lighting is, in fact, the key to producing great photographs. Consequently, it is important to consider the type of lighting you will use to illuminate your products; chose from either natural or artificial lighting.
Natural lighting is free and accessible to everyone, making it the most viable option for many. You can utilise natural light sources by setting up your shoot near a window using a white background and a fill light. The white background should be placed at one end of the window with the camera at the opposite end. Additionally, the fill light, which is used to reflect incoming light back on to the product, should be positioned directly opposite the window with your product placed in front.
Before starting your shoot, always make sure you have something white and reasonably transparent on hand to deflect any incoming sunlight that is causing your products to become over-exposed and thus difficult to photograph. It is also important to keep in mind that the strength of the sun will vary throughout the day, so carrying out your shot efficiently during one period is vital to achieving coherent imagery.
Artificial lighting is the pricier option; however, having the ability to adjust and alter the light settings will enable you far more freedom when it comes to capturing the perfect shot. Due to the flexibility of this style of lighting, you can set up your shoot just about anywhere; as with natural lighting, place a white background at one end and a camera at the other, with two lights opposite each other on the available sides and your product in the centre. Then, place an additional light above to illuminate the entire frame and provide some definition to your image.
Again, as is often the case with natural lighting, artificial lighting that is too harsh can also result in over-exposure to your products, causing glares and shadows that are tough to photograph. If needed, place a reflective material such as a white pillowcase or tissue paper over the lights to lessen their intensity.
Shooting
Finally, once you’ve got all your equipment ready, it’s time to position your products to make them look as appealing as possible! Start by placing your chosen product in the centre of the frame so that it features as the focus of the image. Then, view the image provisionally through your camera lens, making the appropriate adjustments where needed regarding positioning, lens focus and lighting.
If after making some changes you find that you’re still unhappy with the shot, try shooting it from a different angle or adding some additional props to enhance the aesthetics of the image. For example, large wooden crates or wooden display units can be used to create a more natural product image as this is how a product may look when displayed in store. Additionally, placing the product alongside other items from a similar range may also help enhance the authenticity of the image rather than having a single product positioned unaccompanied on a stark white background.
Do you have any other advice that could help others when it comes to DIY product photography? If so, we’d love to hear it! Tell us how you make the most of your DIY shoots by sharing your advice with us on our social media channels. Alternatively, head over to our website now to browse our extensive range of retail display units.
Share this post: